If you’ve lost access to your WordPress admin account or the admin account is no longer working properly, you can manually create a new admin user directly in the database using PHPMyAdmin. Once the new admin user is created, you’ll be able to log in to your WordPress dashboard using that account and make necessary adjustments – such as resetting the password or fixing the user role of the original admin account.
Warning: Editing your database directly can be risky. Make sure to create a full database backup before making any changes.
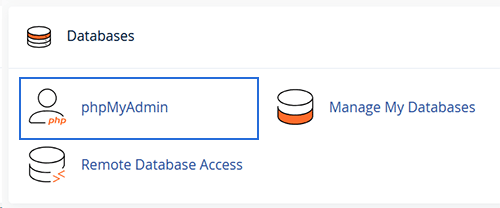
Step 1: Access PHPMyAdmin
- Log in to your web hosting control panel (e.g., cPanel, DirectAdmin).
- Open PHPMyAdmin from the database section.
Step 2: Select Your WordPress Database
- In the left sidebar of PHPMyAdmin, click on the database that your WordPress site uses.
Step 3: Open the wp_users Table
- Find the table called
wp_users(note: your table prefix may be different, such aswpabc_users). - Click on the Insert tab to add a new row.

Step 4: Add a New Admin User
Fill out the fields as follows:
- user_login:
newadmin(or any username you want) - user_pass: Enter your password here. Select MD5 in the “Function” dropdown to encrypt it.
- user_nicename:
New Admin - user_email:
you@example.com - user_url:
https://yourdomain.com - user_registered: Enter the current date and time (e.g.,
2025-05-06 12:00:00) - user_activation_key: Leave this blank
- user_status:
0 - display_name:
New Admin
Click Go to insert the new user.
Step 5: Note the New User ID
- After inserting, go back to the
wp_userstable and find the ID of the new user you just created. You’ll need this for the next step.
Step 6: Open the wp_usermeta Table
- Find and open the
wp_usermetatable. - Click on the Insert tab and add this entry.
Use the following details (replace 5 with the actual user ID from step 5):
- user_id:
5 - meta_key:
wp_capabilities - meta_value:
a:1:{s:13:"administrator";b:1;}
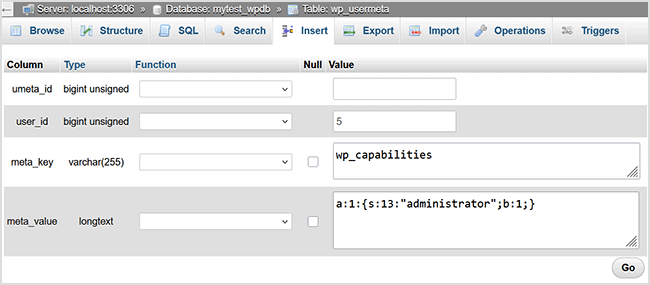
Click Go to save.
Step 7: Log in with the New Admin Account
- Go to your login page:
https://yourdomain.com/wp-login.php - Use the new admin username and password you just created.
Final Notes
Once you’re logged in with the new admin account, you can:
- Reset passwords for other admin users.
- Adjust roles and capabilities for affected accounts.