While we have a wealth of documentation available for this plugin that we encourage you to review at your own pace, we also provide a quick summary guide to get you started and give you an overview of how the plugin works.
By following the summary instructions on this page, you can quickly get the basic setup done with our membership plugin.
Table of Contents
- Creating a Membership Level
- Applying Content Protection
- Settings Configuration
- Enable Free Membership Option
- Payment for Membership
- Email Settings
- How the Membership Signup Process Works
- Essential Documentation
Creating a Membership Level
After you install the membership plugin, you need to create a membership level. You can create as many membership levels as you want.
Membership levels allow you to easily control and assign what content your members CAN and CANNOT see on your site. When a visitor becomes a member, he/she is assigned to one of the membership levels you create. The member will then have access to the site’s content based on the permissions you defined in the membership level.
Go to the “Membership Level” menu from the admin interface then click on the “Add New” button to add a new membership level:

Add a Free Membership Level
Lets add a free membership level with the following details (you can edit these details anytime)

A value of “No Expiry” in the “subscription “Access Duration” field means the membership will not automatically expire after a set number of days.
We will use this membership level in the ‘Enable Free Membership Option’ section below to explore how free membership works.
You can also create multiple free membership levels on your site. Learn more about this later by referring to our documentation.
Add a Paid Membership Level
Lets create another membership level which will be a premium membership (users will need to pay to access this level).
The pricing for the paid membership will be set when you create a payment button for this membership level. For now, you are only creating the membership level, allowing you to apply content protection. You can configure the pricing and payment later. See the ‘Payment for Membership’ section below for details.

This membership level is for 6 months. Users who pay for this membership level will have access to the “Silver” membership level content for 6 months. The membership will automatically expire after that time.
Each of your membership levels will have an ID that the plugin auto generates (you can see it in the “ID” column of the membership level list interface.
To learn more about the membership level configuration, refer to this documentation.
In the next section of this documentation, I will show you how you can apply protection to your content using the membership levels you just created.
Applying Content Protection
Now that you have created some membership levels, you can start protecting your content for those levels.
This feature lets you select and assign specific content to designated membership levels, ensuring that only members with the corresponding level can access or view it.
Take the following steps to apply protection to your content so only members can have access to it.
- Edit the Post or Page that you want to protect in WordPress editor.
- Scroll down to the section titled “Simple WP Membership Protection”.
- Select “Yes, Protect this content” option.
- Check the membership levels that should have access to that page’s content.
- Hit the Update/Save Button to save the changes.

Go ahead and apply some content protection to some of your posts and pages. You can protect some test pages to start with (if you just wanted to see how it works).
Example Protection Message
The following is an example of a protection message that your visitors see:

To learn more about the content protection options, refer to this documentation.
Settings Configuration
After your membership levels are in place, you need to go to the settings interface of this plugin to do some basic configuration.
Click on the “Setting” link from the “WP Membership” admin interface.


The plugin automatically creates the required pages when you install it. So just make sure that the following pages were created in your install and the URL of those pages are saved in the settings:
- Login page (this is where users will go to log into the site)
- Registration page (this where users fill in a form to register/create account)
- Join Us Page (this is where a user goes to find out all your membership options)
- Edit profile page (your members can go to this page to edit their details)
- Password reset page (used for resetting a member’s password)
The plugin needs the above pages to function properly so don’t delete these pages. If you have accidentally deleted these pages then use this documentation to recreate them.
Enable Free Membership Option
For now, let’s enable the free membership option on your site so you can explore how it works. You can disable it at any time if needed.
Check the “Enable Free Membership” checkbox and fill in the free membership level ID field (in my case the free level ID is 2). You can find the level ID in the “Membership Level” menu.

When you enable free membership, visitors can go directly to the registration page and sign up, gaining access for free.
Payment for Membership
If you want to charge for access to some membership levels on your site then you can do that too. If you want to offer free memberships only then skip this section.
You can charge a “one time” fee or a “recurring payment/subscription” model to give access to a membership level.
Our plugin offers built-in payment options for PayPal and Stripe, allowing you to accept membership payments through either or both. Additionally, we provide integrations with various e-commerce plugins for handling membership payments, which you can explore later in our documentation.
You can create multiple payment buttons for a paid membership level. Once a user completes the payment, they are automatically assigned to the corresponding membership level.
For now, use one of the available payment button options in our plugin to set up a payment button for your paid membership.
- Creating a PayPal Payment Button for Your Membership (New API)
- Creating a PayPal Subscription/Recurring Payment Button for Your Membership (New API)
- Create a Stripe Payment Button for a One Time Fee
- Create a Stripe Subscription Button for Recurring Payments
- Create a Braintree Payments Button for a One Time Fee
Suppose you want to charge $49.90 for the Silver membership level, granting users access to content protected under that level. This access will expire six months after the payment date.
Go ahead and create a PayPal or Stripe ‘Buy Now’ button with a price of $49.90 (or any other amount for testing). Then, add the payment button to your membership “Join Us” page.
To learn how to create different payment buttons for your premium memberships, visit the membership payment section of our documentation.
Email Settings
Next, lets take a look at the “Email Settings” tab:
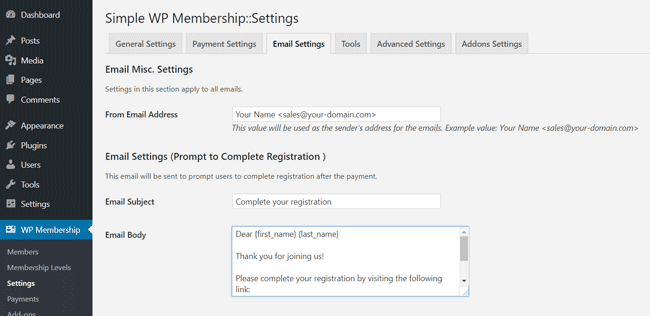
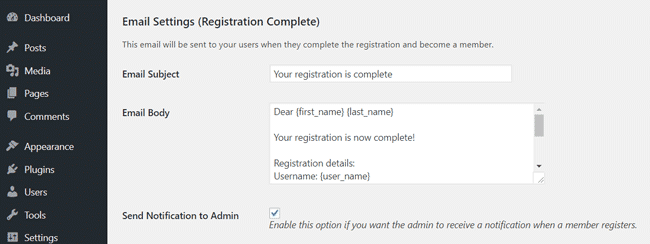
Most of the basic email configuration items should be already in place so you don’t have to do anything in this tab right now. Once you get to know the plugin a little more, you can customize some of the email messages.
To learn more, refer to the email related documentation section on our documentation page.
How the Membership Signup Process Works
The following is a brief summary of the user signup process, and for more detailed information, please refer to the membership registration process documentation.
Once you have finished setting up your membership site, you can expect the following:
- Visitors land on your website and sees that you have some protected content.
- The users click on the “Join Us” link which takes them to the “Membership Join Us” Page. You have explained all the different types of memberships you offer on your site.
- From the “Membership Join Us” page, the visitors can decide which membership option they want to go for (Example: Free, Silver, Gold etc).
- If they choose the “Free Membership” option, then they just follow the link and sign up for a free membership. Remember, the free membership sign up is only possible if you have enabled this option in the settings of this plugin.
- If they choose a “Premium Membership” then they make a payment by clicking on the payment button.
- Once the Payment is confirmed (at this point the plugin knows which paid membership this member wants), the plugin will create a membership account entry for this visitor.
- The user will receive an email that contains a “unique” link. The user will need to click on this link to activate the account.
- When the member clicks on that link in the email it will let them choose a “username” and “password” and complete the registration process.
- At this point the member can log into the site and enjoy the premium content.
Require Account Creation Before Membership Payment
You can adjust the registration process to require users to create an account before paying for a membership. If you’d like to implement this option on your site, refer to the documentation on Require Account Creation Before Membership Payment.
Essential Documentation
To fully understand how the plugin functions, we recommend reviewing the following documentation pages.